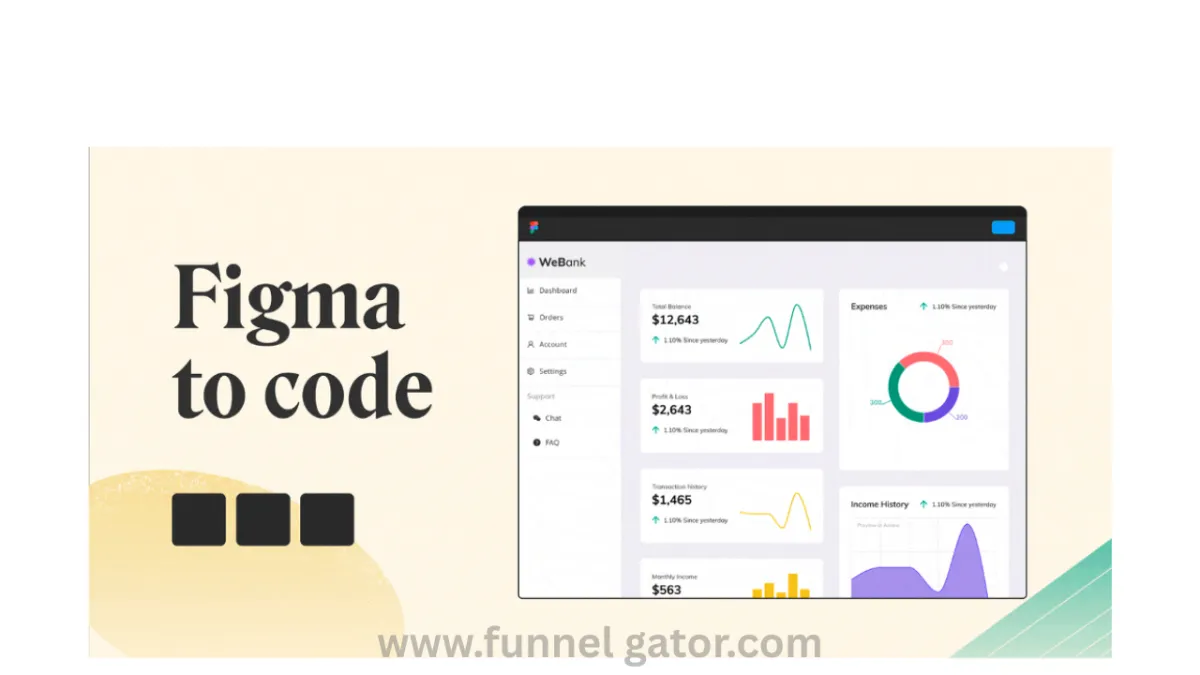
Figma to Code: A Step-by-Step Guide for Designers & Developers
Imagine this: you’ve just spent hours designing a sleek app interface in Figma—pixel-perfect, beautiful, and everything your client ever dreamed of. You hand it off to a developer, feeling accomplished… only for the final product to look nothing like your vision.
Sound familiar?
This disconnect between design and code is exactly why so many teams struggle with product development. The good news? Turning Figma to code is no longer a painful, mysterious process. In fact, with the right tools and mindset, anyone can bridge that gap—even without being a coding expert.
In this article, we’ll break down what Figma to code means, why it matters, and how you can master it using simple steps and tools. Whether you're a designer, developer, or just curious, this guide will give you the clarity and confidence to turn your designs into real, working code.
🔍 What Does "Figma to Code" Actually Mean?
Figma to code refers to converting designs made in Figma—a popular design and prototyping tool—into real code that developers can use to build websites or apps.
Think of it like translating a drawing into instructions for a builder. Just like an architect provides blueprints, Figma provides the layout, and code is the bricks and mortar.
Depending on your project, you might be converting designs to:
HTML/CSS/JS for websites
React or Vue.js for frontend applications
Flutter for mobile apps
Or even SwiftUI and Jetpack Compose for native mobile development
🧠 Why Converting Figma to Code Matters
Here's a quick story.
Sarah, a freelance designer, once shared her experience of designing a beautiful landing page for a startup. She sent the Figma file to the dev team, only to see the final webpage look clunky and inconsistent. It was frustrating—for her and the developers.
The problem? Lack of communication and no clear Figma-to-code strategy.
When you streamline the process from Figma to code, here’s what happens:
Developers save hours by not guessing layout, spacing, or styles.
Designers get to see their creative vision come alive—accurately.
Teams collaborate better, speeding up delivery.
And ultimately, the product quality improves.
🛠️ How to Convert Figma to Code – Step-by-Step
Let’s walk through the actual process of going from Figma to code. You don’t need to be a developer to follow along.
Step 1: Organize Your Figma File
Before you even think about code:
Name your layers clearly
Group related elements
Use auto-layout for consistent spacing
Apply design tokens (like consistent colors, fonts, spacing)
This helps both you and the developer understand the structure easily.
📚 Learn more about Figma best practices.
Step 2: Use Code-Ready Components
Figma offers components—reusable design blocks like buttons or cards. Using them speeds up both design and development.
For example, if your “Primary Button” is a component, the developer knows it’s the same across all screens—and writes the code once.
You can also use design systems like Material Design or Tailwind UI for ready-to-code patterns.
Step 3: Inspect the Code with Figma
Figma has a built-in code inspector. Just click on any element and go to the "Code" tab. It shows CSS, iOS, and Android snippets automatically.
➡️ Check out the Figma Inspect feature.
While it’s not perfect, it gives developers a huge head start—especially for spacing, font sizes, colors, and borders.
Step 4: Use Figma-to-Code Tools
Here’s where the magic happens. Several tools help you export Figma to code automatically.
🚀 Popular Figma to Code Tools

Many of these tools allow copy-paste-ready code or even live previews, which can dramatically speed up development.
Step 5: Collaborate & Refine
After generating code, always:
Review the output
Optimize for performance
Clean up the HTML/CSS/JS as needed
Test responsiveness on different screen sizes
👥 Use tools like Zeplin, Avocode, or even Figma comments to discuss changes with your team.
💡 Pro Tips for Better Figma to Code Workflow
Use real content early – Placeholder text can confuse developers.
Design responsively – Use Figma’s constraints and layout grids.
Export assets correctly – SVGs for icons, 2x PNGs for retina screens.
Stick to a grid – Makes the layout predictable and easy to code.
💬 Common Questions Answered
“Can I convert Figma to code without coding skills?”
Yes! Tools like Anima and Locofy help non-developers turn designs into working code, even deploy live pages.
“Is auto-generated code production-ready?”
It depends. While it's a great starting point, most devs will need to optimize and structure it for scalability.
🎯 Final Thoughts: Why You Should Embrace Figma to Code Today
Designing in Figma is fun. But seeing your design come alive through code? That’s next-level satisfaction.
By learning how to convert Figma to code, you empower yourself as a designer or a developer. You’ll save time, reduce back-and-forth confusion, and ship better products—faster.
And the best part? You don’t need to be a coding wizard. With the right tools and practices, anyone can do it.
So next time someone says “we need to build this,” you can proudly say: “It’s already halfway done in Figma.”
🚀 Ready to Supercharge Your Workflow?
If you're tired of seeing your designs get lost in translation, start using a smart Figma to code tool today. Whether you're a solo creator or part of a product team, there's never been a better time to bridge the gap between design and development.
Try Anima or Locofy now, and watch your designs turn into live, working code with ease.


